Have you ever wrapped your still hot flat iron in a dish towel because you were leaving for the airport? No? Well, maybe a less drastic situation...either way, this thing is useful. Like if you only have this much counter space in your bathroom.
Seriously folks, that's all there is. For two people and the junk that accompanies them.
Yep, both of those are me. So really I'm not sure why I didn't have one of these babies before. Oh, actually that might have something to do with not wanting to pay for one. So now that I'm all high on my
clutch success I decided to make a cover for my flat iron/straightener (not really sure which term is more correct). If you also have no place for your hot hair tool, here's how I did it.
Measure your tool (this would work for curling irons too). It will likely look way too big, but it won't be. I left an inch extra on each side to account for seams and wiggle room (mine didn't turn out really snug so you could probably get away with a little less).
I doubled the length then added 2 inches for a flap. I cut an outside piece, a lining piece, and some leftover batting. Stack them like this: batting, outside, lining. If you're not sure which way everything should face...what I do is put everything together how it will look in the end, then figure out which seams go together and stack accordingly. Then I pinned. I usually skip this, but when I do I have an issue with things being all wonky by the time I get to the end. So I either have a sewing machine problem, a sewing skills problem, or this is normal.
Sew together, but leave a couple/few inches for turning. Then I skipped ironing the seams and pinning it together. Aaand I forgot to clip the corners, I would've actually liked to do that. Sew up your hole, then assemble the cover. Just fold it in half (2 extra inches on one side for the flap!) and sew around the edges (but not the top...you'll have to leave that open if you want to put the flat iron
in the cover).
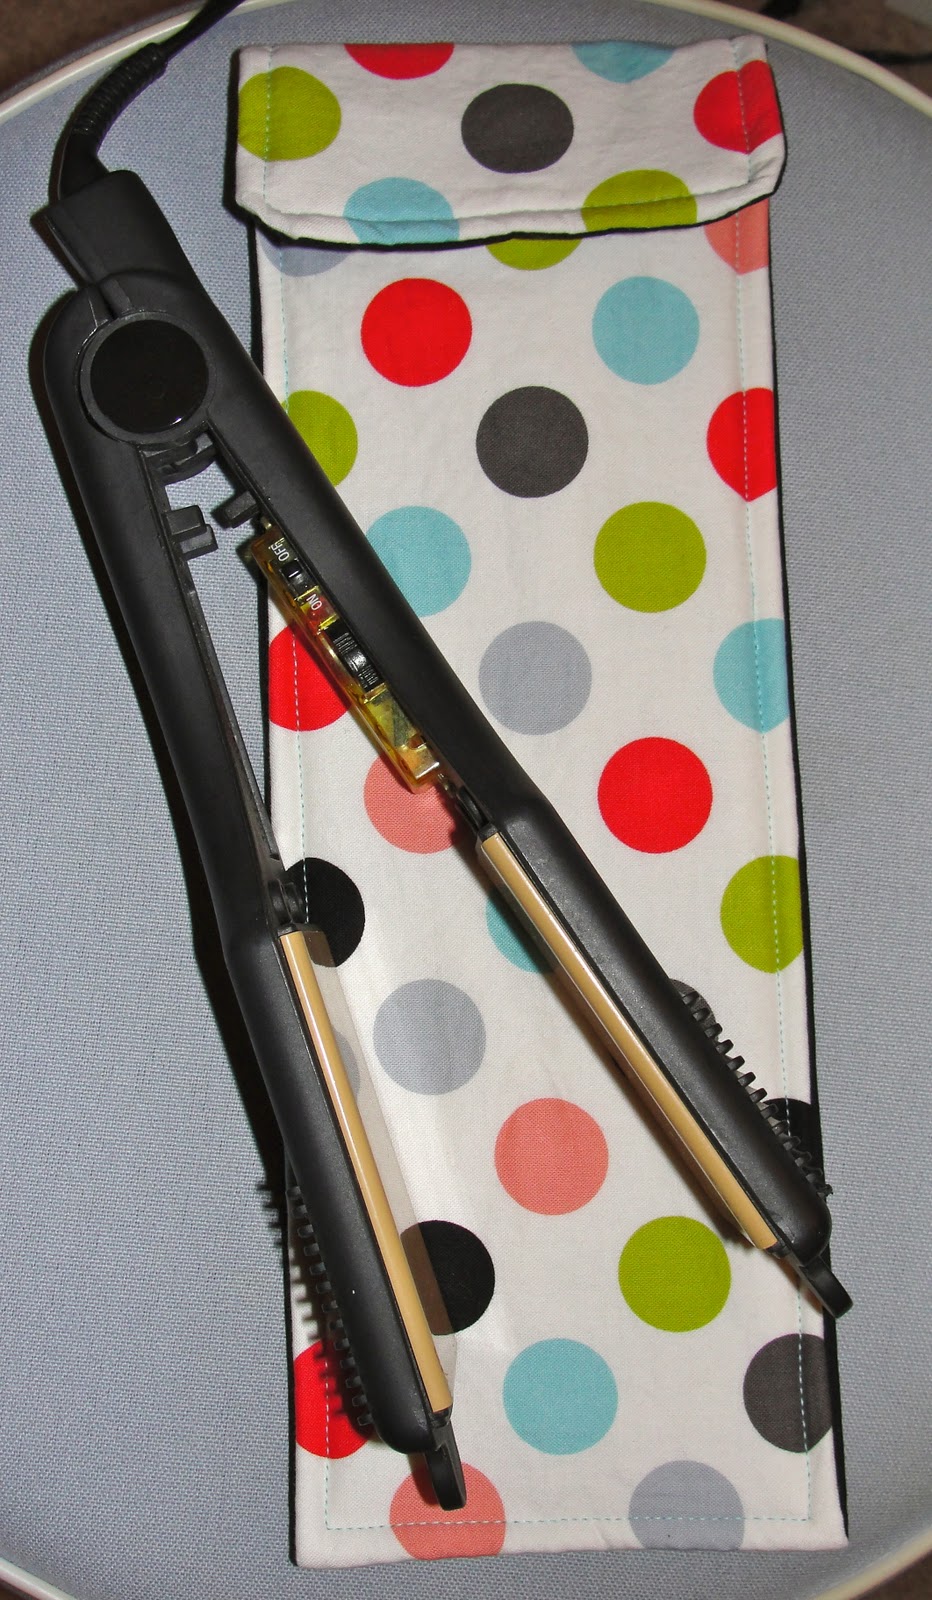
I added a little velcro and viola!
Hubs will not have to worry about knocking my straightener off our 10 square inches of counter space and I will not have to use a dishtowel when packing. Yay!


No comments:
Post a Comment