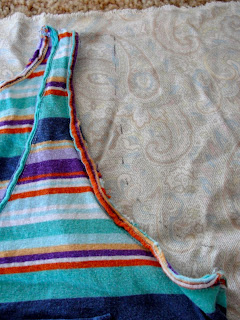
I sort of took a break from being an adult last week while Hubs and I both had a cold (at least in the cleaning department). We cleaned over the weekend, so we caught up to the point where I felt like I could make another huge mess sewing. : ) I traced a tank I already had, but I tried to adjust it a little by making the straps wider, the neckline higher, and the body slightly slimmer.
And I used a pen to trace. Real professional. But if no one is going to see it on the final product I don't see how it matters. I just have to never mess up.
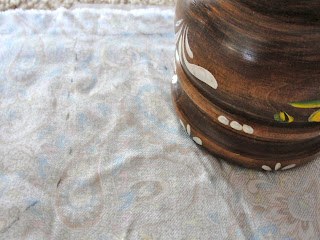
I used a candle holder flipped upside down to make the curve on the neckline. It was within reach and was a pretty good size, so I went with it.
A few tips if you try this:
- Don't try to make too many changes to your existing piece - it's hard.
- Just eyeballing it is not always the best plan.
- Ironing your fabric and tracing/cutting on a flat surface is definitely a good idea because if you don't, your bottom edge might just look like this:
Does anyone have a better way to finish edges on shirts? I wasn't really sure if this was the best method. I pressed the edge under about 1/4" then again 1/4".
The hem on the bottom was about 2" because it would've been a little to tight around the bottom if I left it longer. Without further ado, here are some shots the finished product!
I talked Hubs into being my photographer since it was dark and mirrors and flash don't get along. You can thank him for directing me to do the next pose. It's ok to laugh. : ) What's worse is this is actually one of the best ones, hah! I guess America's Next Top Model is not in my future.
Sorry it's a little blurry. Here's a closeup. I had a hard time getting one that would show the pattern well.
Yes, this is hanging on our thermostat. Isn't that where you hang your freshly sewed clothes? Thanks for reading! I was so excited with the finished product, especially when I wear it with that cardigan! Really I would've been happy with something that was just wearable, so this surpassed my expectations.
Just realized I forgot to mention what kind of fabric it was! It isn't your standard cotton and I don't think it's knit either. It's soft like a knit but thinner and a little more drapey. So basically I'm saying I don't know exactly what it is, but it's comfy! I'd love to hear what you guys think since this is my first clothing experiment!


No comments:
Post a Comment