Thursday, May 19, 2011

Upgrade

Yesterday I finally got a proper cutting mat. You may have noticed from my not-so-straight cutting lines that I don't have an ideal setup for cutting things.
We don't have any large flat surfaces that aren't wood and wood isn't exactly the best surface to cut on (unless it's a cutting board I suppose, but that's beside the point). I stole a "cutting board" from the kitchen and was using that when I cut out patterns or used an exacto knife. And by cutting board I mean a thin piece of plastic that passes for a cutting board only at the Dollar Store. It was only about 12"x15" so that didn't give me a ton of room to work with. That and since it was super cheap every little cut and scratch was there for good.

Beverly's was having a sale on cutting mats AND I had a 40% off coupon so I decided to at least check them out while I was there. Then I proceeded to stand there staring at the cutting mats for at least 5 minutes like a crazy person trying to decide what size to get. I only hope I wasn't talking to myself out loud!

I went with an 18"x24" mat, although the 24"x36" was oh so tempting. I really don't have room anywhere for something that size, so I convinced myself to go with the smaller one. Now I just have to wait until next week for my other 40% off coupon and I'll be getting a rotary cutter. Wooo! ...wow, I'm becoming lame.

And just so this post doesn't feel so picture-less I'll leave you with a few pictures of our bonsai tree that's currently blooming. I was trying out some different settings on our camera.
I'm so happy I haven't killed it. We've had it over a year and it's still alive, perhaps I can upgrade from a totally brown bordering on black thumb to a brownish thumb. : )
post signature

Monday, May 16, 2011

Tank Success

I'm very happy that this is going to be a post where I show you a finished product rather than a half-finished disaster. There were several times during this project that I was afraid of where things were going. I've been toying around with the idea of making a tank out of some light paisley fabric I got practically for free at a garage sale a few months ago.
I sort of took a break from being an adult last week while Hubs and I both had a cold (at least in the cleaning department). We cleaned over the weekend, so we caught up to the point where I felt like I could make another huge mess sewing. : ) I traced a tank I already had, but I tried to adjust it a little by making the straps wider, the neckline higher, and the body slightly slimmer.
And I used a pen to trace. Real professional. But if no one is going to see it on the final product I don't see how it matters. I just have to never mess up.
I used a candle holder flipped upside down to make the curve on the neckline. It was within reach and was a pretty good size, so I went with it.
A few tips if you try this:
  1. Don't try to make too many changes to your existing piece - it's hard.
  2. Just eyeballing it is not always the best plan.
  3. Ironing your fabric and tracing/cutting on a flat surface is definitely a good idea because if you don't, your bottom edge might just look like this:
Hahaha! Yeah, not the best first try. I was seriously doubting my skills at this point. Did I mention I've never made clothing without a pattern before? And only a few items with a pattern. I trimmed and moved on. I'm not really sure what the standard is when making a shirt, but I put the front and back together before I hemmed anything. Mostly because I wanted to see if I should even continue - I didn't want to finish all of the edges only to find out it didn't fit.

Does anyone have a better way to finish edges on shirts? I wasn't really sure if this was the best method. I pressed the edge under about 1/4" then again 1/4".
The hem on the bottom was about 2" because it would've been a little to tight around the bottom if I left it longer. Without further ado, here are some shots the finished product!
I talked Hubs into being my photographer since it was dark and mirrors and flash don't get along. You can thank him for directing me to do the next pose. It's ok to laugh. : ) What's worse is this is actually one of the best ones, hah! I guess America's Next Top Model is not in my future.
Sorry it's a little blurry. Here's a closeup. I had a hard time getting one that would show the pattern well.
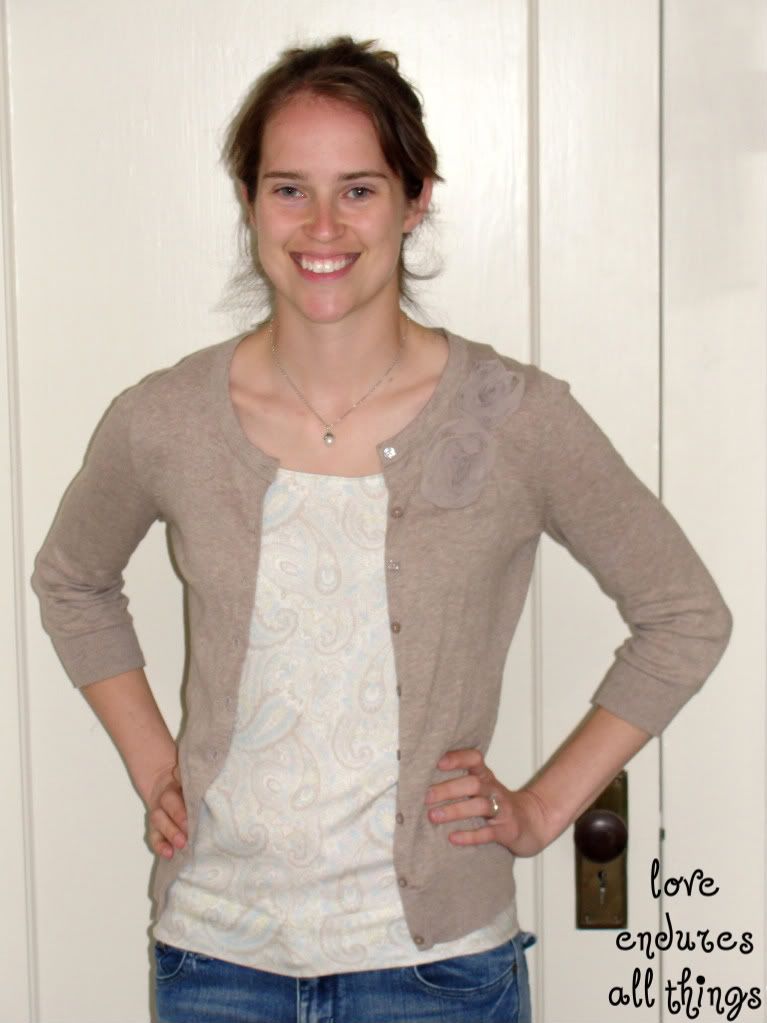
Yes, this is hanging on our thermostat. Isn't that where you hang your freshly sewed clothes? Thanks for reading! I was so excited with the finished product, especially when I wear it with that cardigan! Really I would've been happy with something that was just wearable, so this surpassed my expectations.

Just realized I forgot to mention what kind of fabric it was! It isn't your standard cotton and I don't think it's knit either. It's soft like a knit but thinner and a little more drapey. So basically I'm saying I don't know exactly what it is, but it's comfy! I'd love to hear what you guys think since this is my first clothing experiment!
post signature

Sunday, May 8, 2011

I'm back

Please excuse my bloggy break last week. We were visiting family, so I let blogging slip to the back burner for the week. Since I didn't make much while we were gone, I thought I'd share a couple things I made recently and haven't shared yet. Although I did pack some fabric and even contemplated bringing my own sewing scissors. Hah, am I going crazy? Maybe.

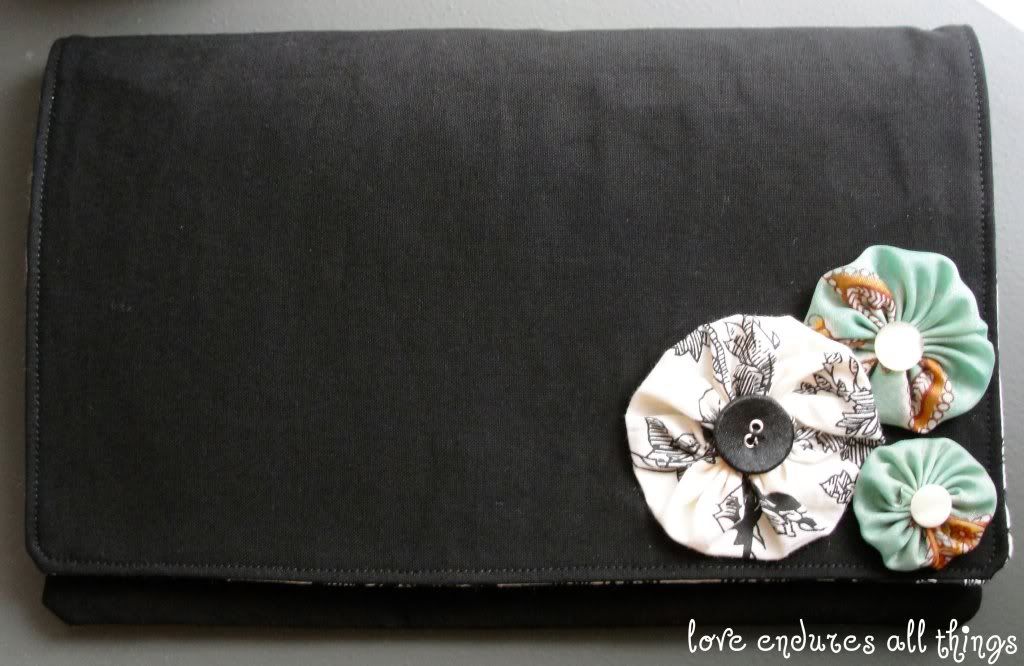
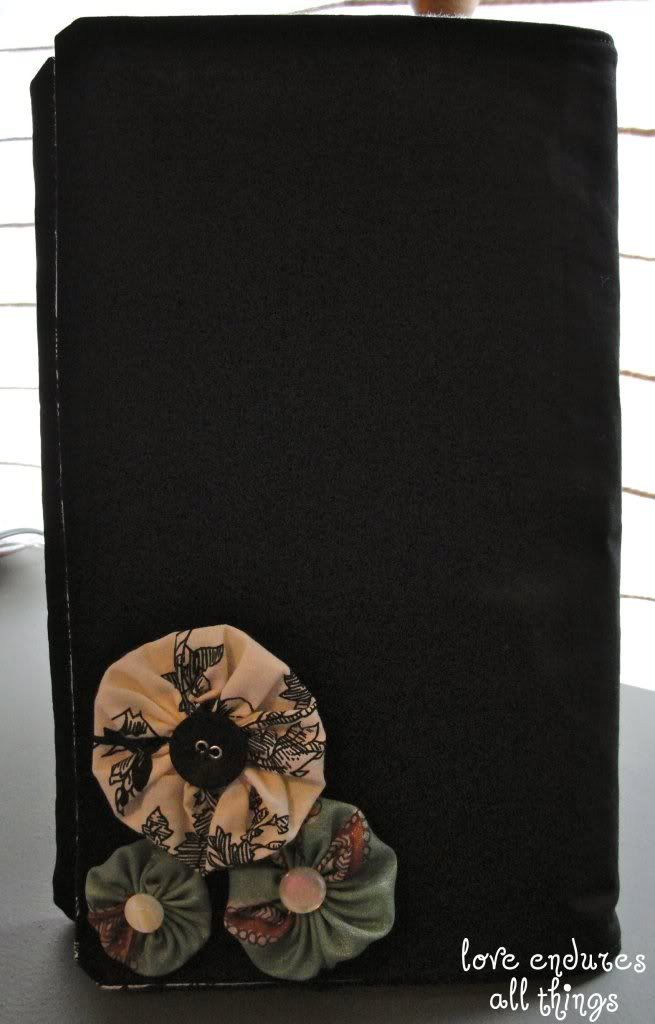
Anyway, I made this clutch for my mother in law's birthday.
I would love to add a clutch to my Etsy shop next...that is, as soon as the magical time fairy visits to grant me a few extra hours one day!
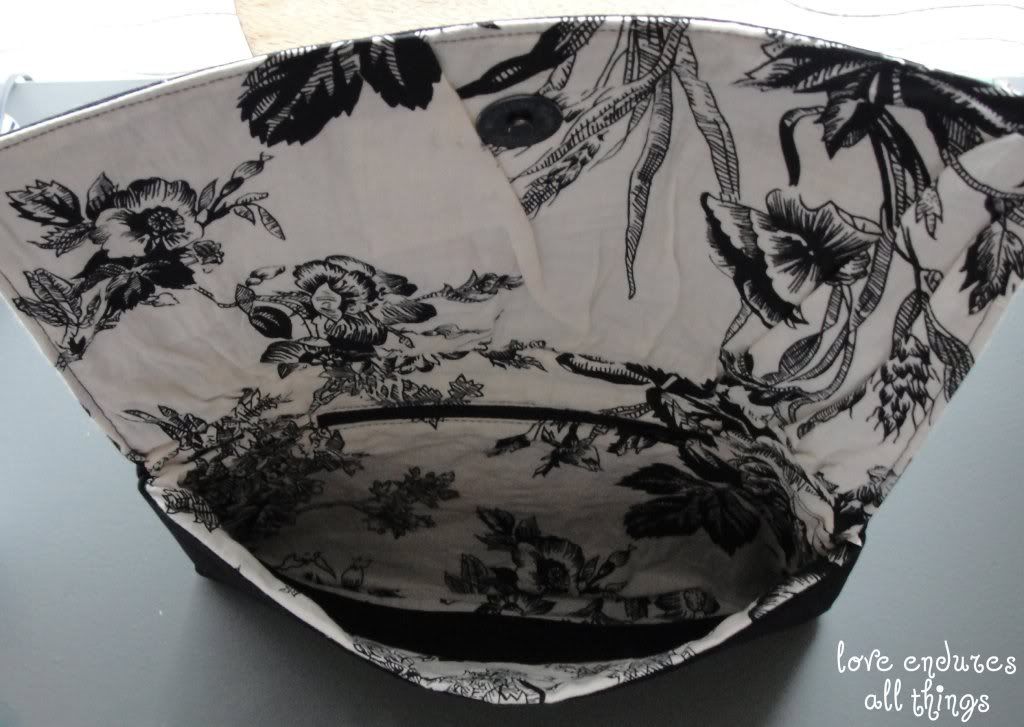
 Aaaand a picture of the inside:
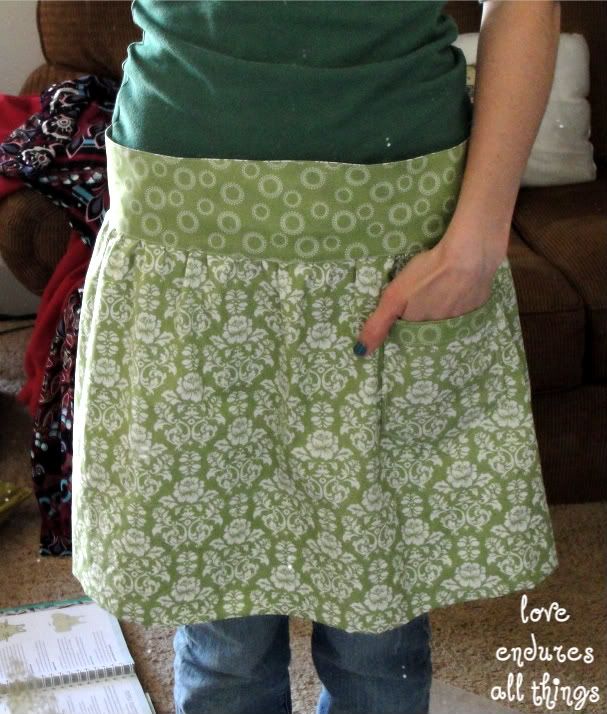
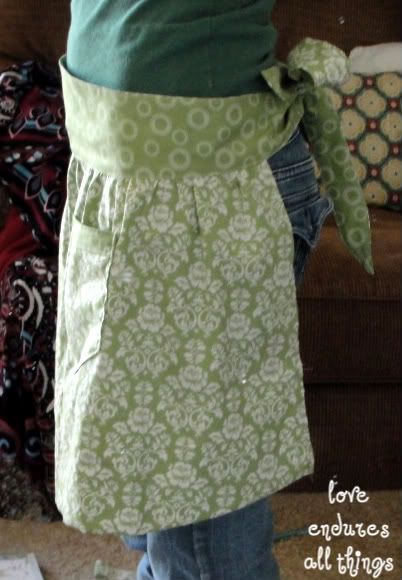
Now for Mother's day presents. I forgot to take pictures of the presents I made for my mom. Oops. But here's a picture of me modeling the apron I made my mother in law.
We gave it to her a few minutes before we left this weekend so I didn't get to see it in action.
Hope everybody had a good week!
post signature

Friday, April 29, 2011

Spring Wreath

Well there are plenty of things I could should be doing other than blogging, but here I am. Maybe that means I'm turning into a real blogger (as opposed to a person that is kind of trying out this blogging thing but largely has no idea what she's doing). Or maybe that's just wishful thinking since half of the pictures from this post are from my phone because I was too lazy to get my camera while I was working. : )

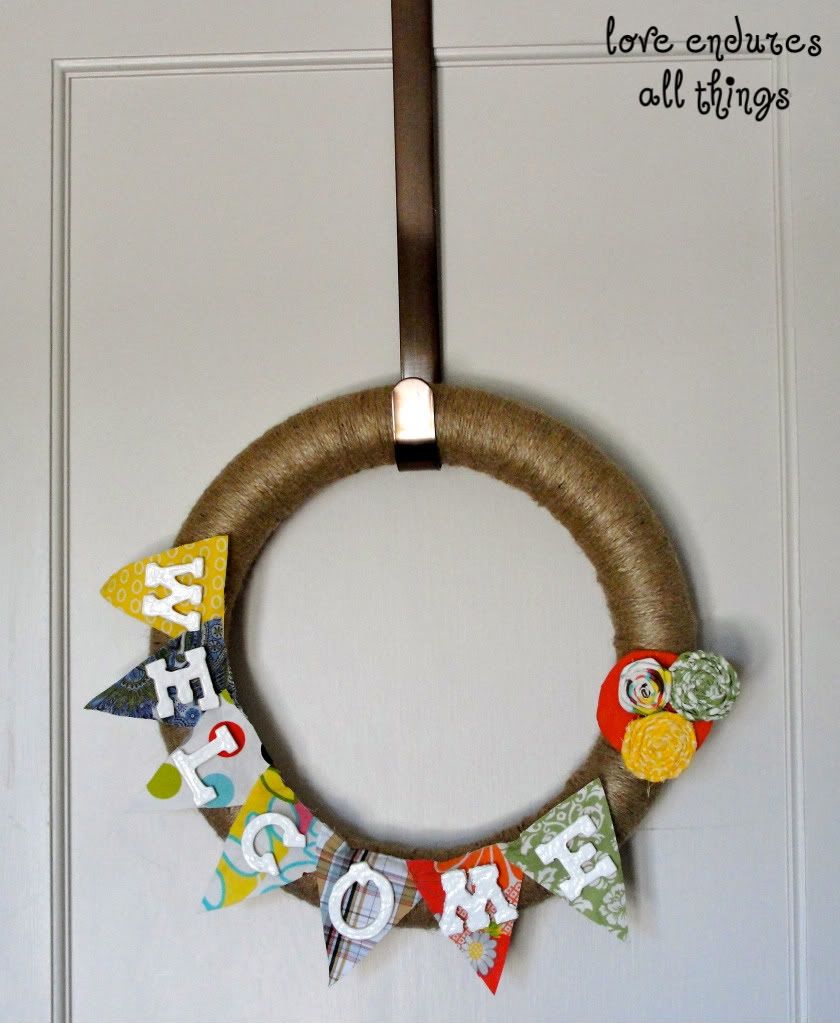
Either way, I'm excited to show you the wreath I finally finished. I love the idea that Myra at the Casabella Project had to make a simple wreath and put velcro on it so you can change the wreath easily based on the season. Genius!! (Especially for someone like me who just last week realized I forgot to reset one of the clocks at daylight savings. Oops) You can find her original post about it here.

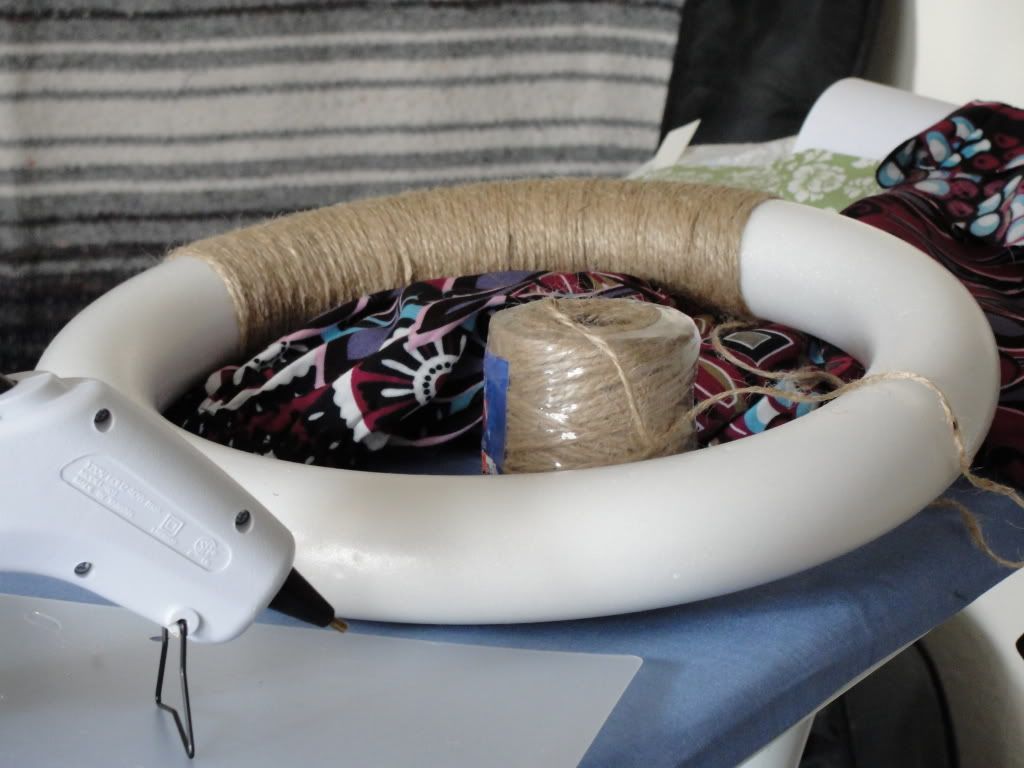
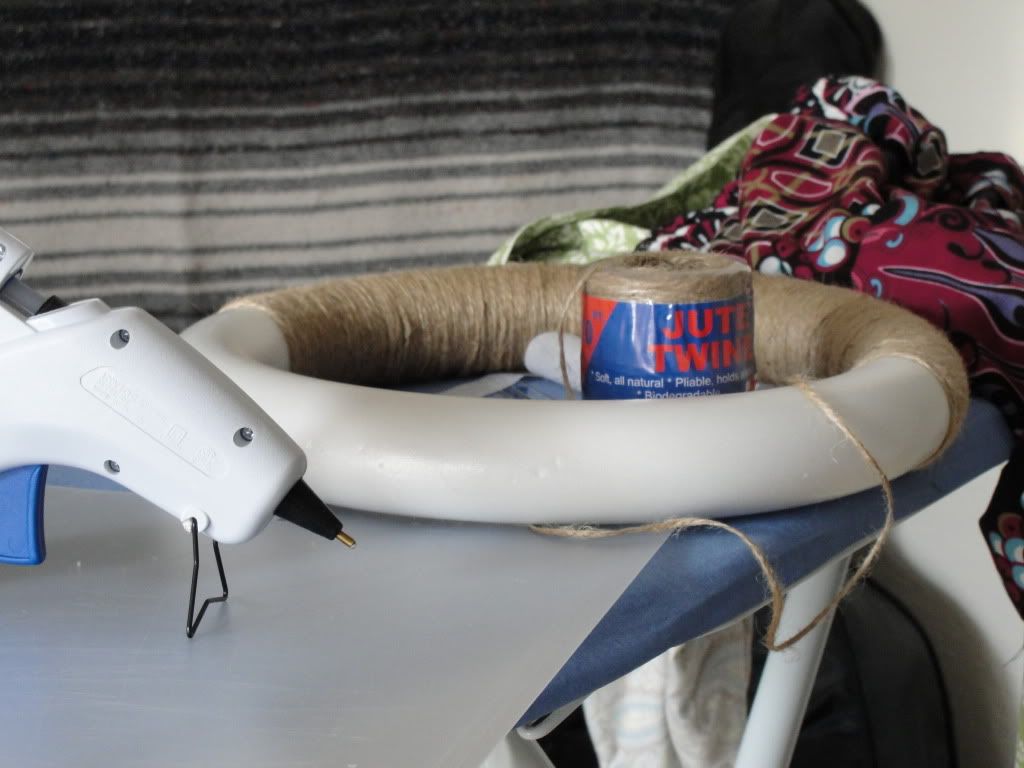
We had a roll of twine on hand (you know, just in case of a twine emergency) so I started wrapping. At first I was thinking the project would be easy-peasy and it didn't even seem like it was taking very long.....then this is when I took a break to check Facebook.
Aaand another break when I was starting to think I would never ever finish. Why do I always pick projects like this?
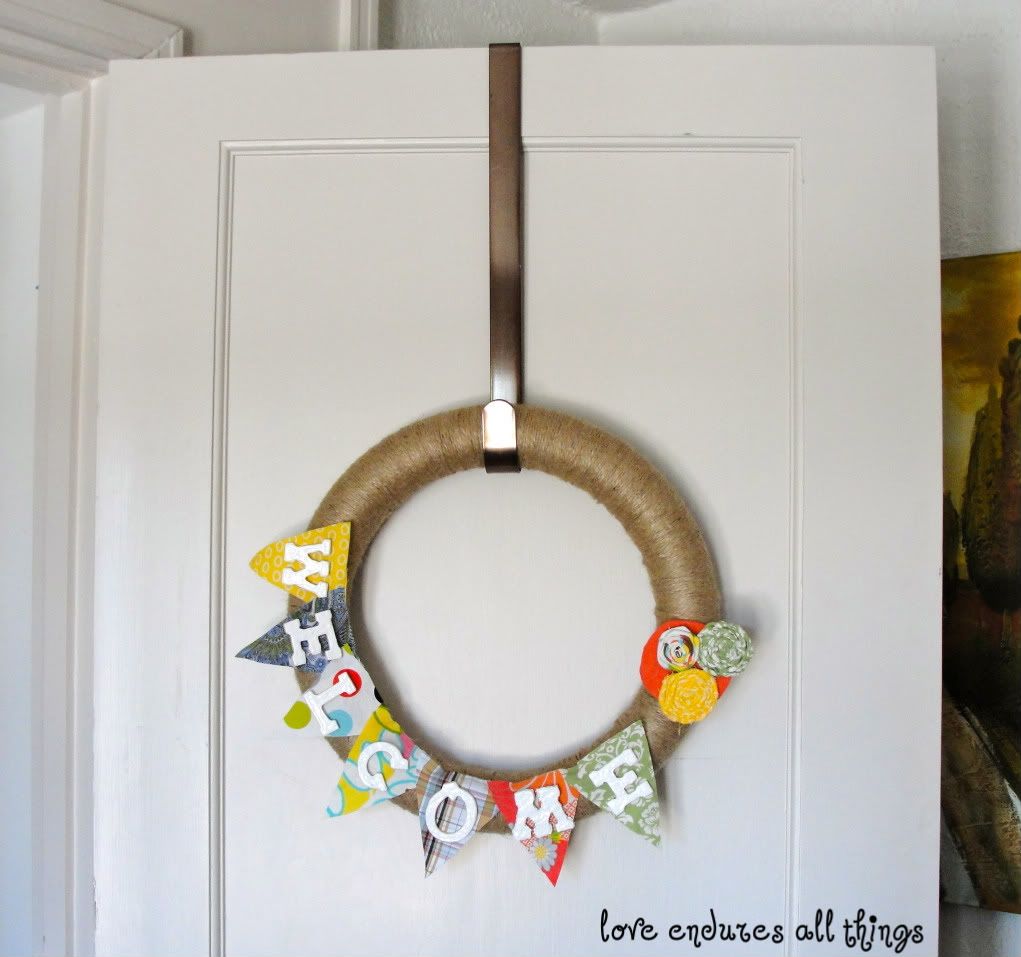
Anyway I finished wrapping and was very happy with myself. : ) But I still had no idea what I was going to put on the wreath. I tried making some rosettes with fabric scraps and found that I can make a rosette, but I don't think it's my forte. I had some small wooden letters leftover from another project and decided to spell out 'Welcome.' Unfortunately, I was short one letter.

I didn't let that deter me (although looking back I kind of wish it had). I cut one out of cardboard! That proved to be way harder than expected! Then I had to paint all of the letters so you wouldn't be able to tell which one was cardboard. Only the cardboard one wasn't as smooth so I used puff fabric paint to try to disguise it even further. Did you know you can use that on wood and cardboard? Because you can.

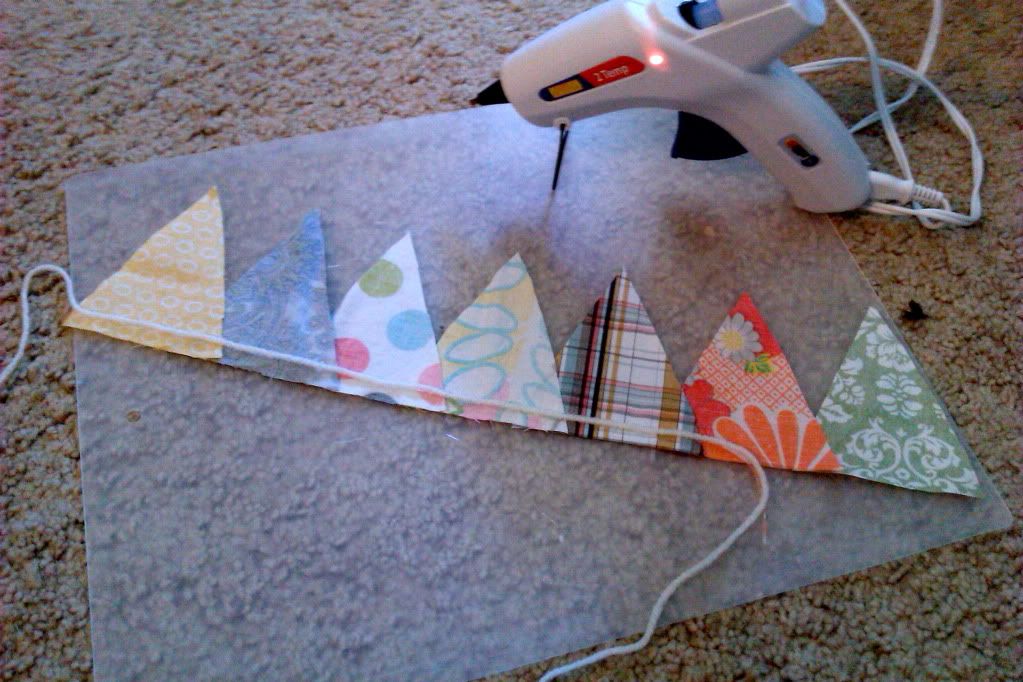
I am going to have to switch to the short version of this because this post is turning into a mini-novel (sorry!). Made a fabric bunting.
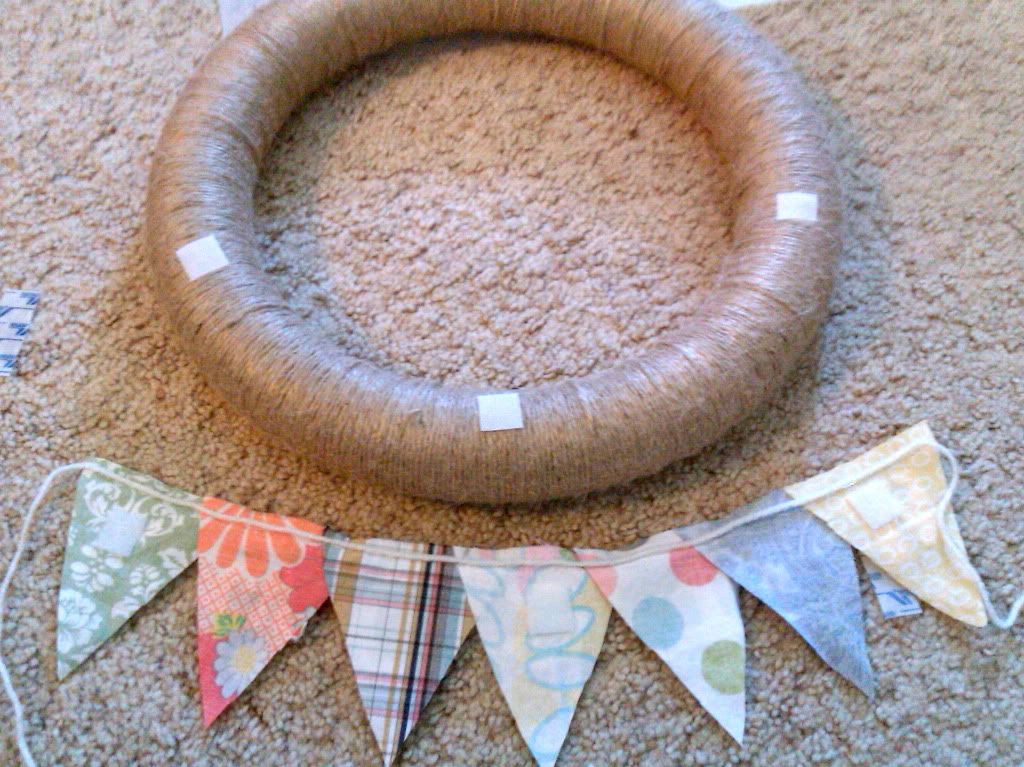
Added velcro to wreath and bunting.
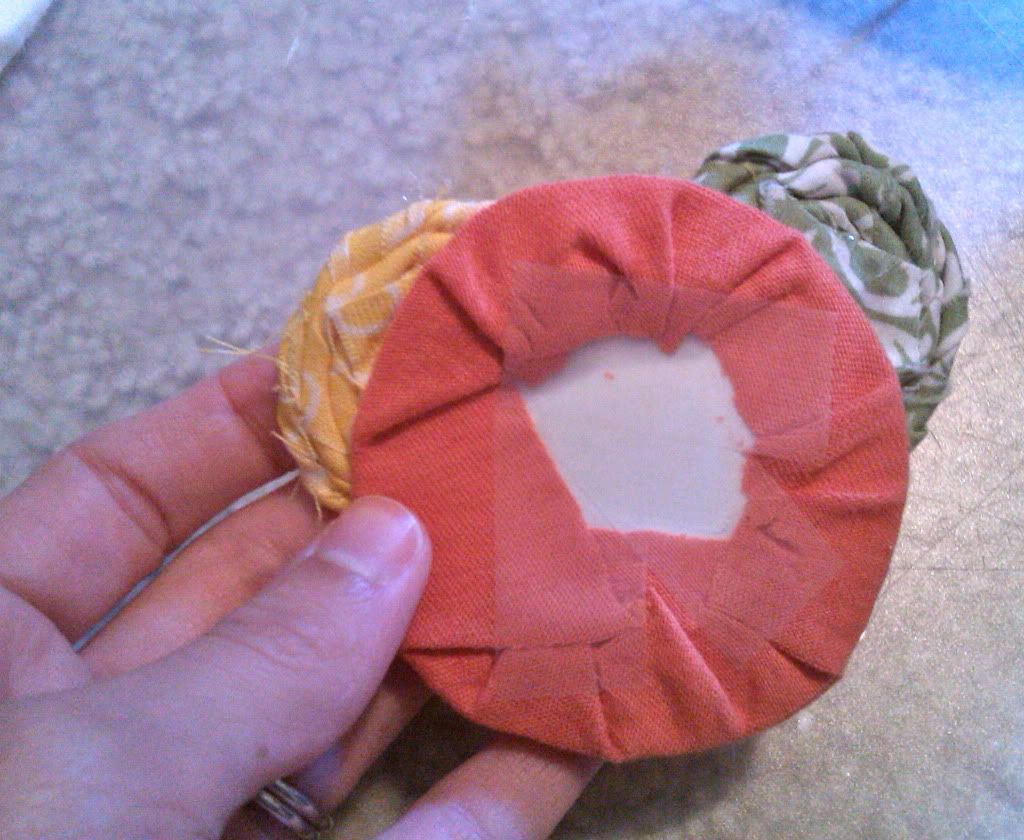
Didn't feel like making another rosette so I cheated by wrapping fabric around paper. Shhh, don't tell. : )
 
And viola! This is on the door at the top of the stairs coming into our place. (The house is split into two units so we have a front door on the ground level, but you immediately go upstairs and through this door)
One more picture because I actually bothered to bust out my camera for the final product.
If you made it to the end, thanks for hanging with me! Have a wonderful weekend!!
post signature

Tuesday, April 26, 2011

Pillow Fever

Our pillow selection in the living room has been a little lackluster (at best), so I wanted to add a couple new pillows to the lineup. Here are the pillows that came with our couch.
They have yet to make a debut (we got our couch a year ago). I don't like them. At. All. They are sitting in our front closet eagerly awaiting a yard sale. Instead, we had some ikea pillows, which are fine but they really weren't filling up the pillow cases very well.

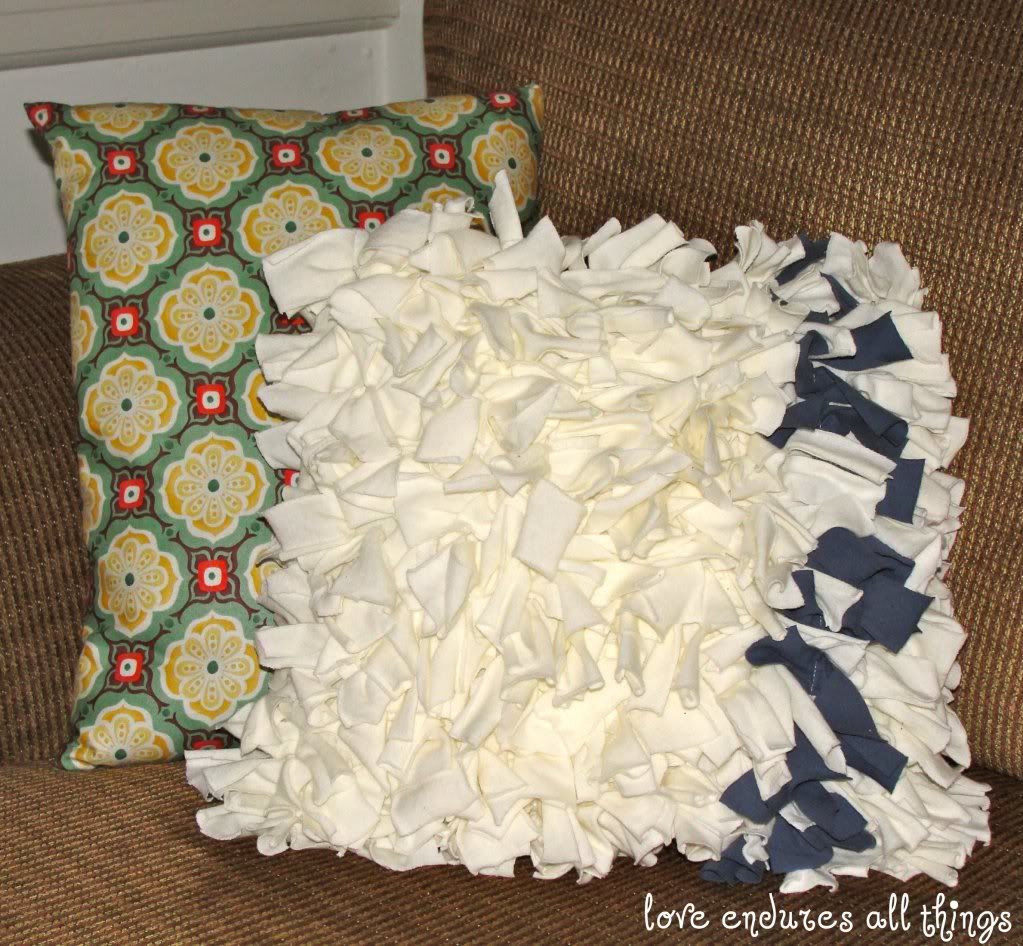
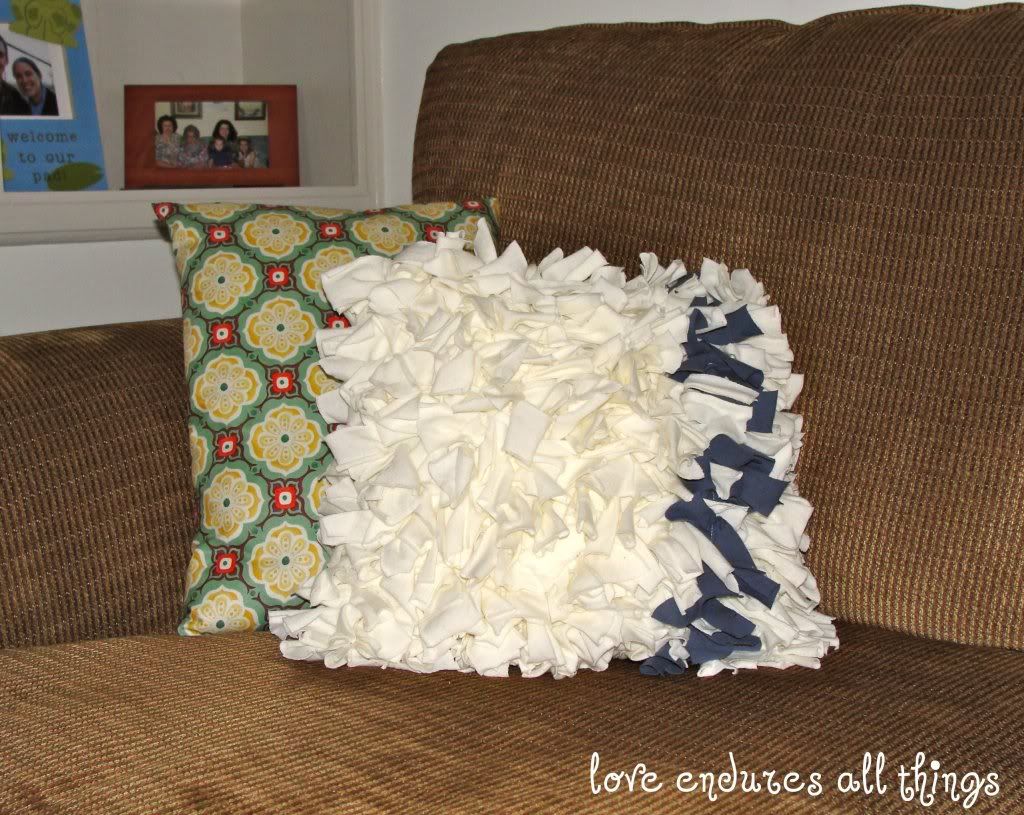
I saw this at a link party and was in love and started making one right away.
Well that was dumb. I didn't stop to think about the fact that I have no rotary cutter so cutting all of the necessary pieces would take forever and a day. I also didn't think about how tedious things make me feel like the project is going to take the rest of my life and make me have little motivation to finish.

Thankfully, we were having people over in two days and once the fabric mess was all over the place I had to finish before I cleaned because what is more of a hassle than cutting a bajillion pieces of fabric? Cutting half a bajillion, having to clean them up all up, then getting them all back out again to cut the other half bajillion.
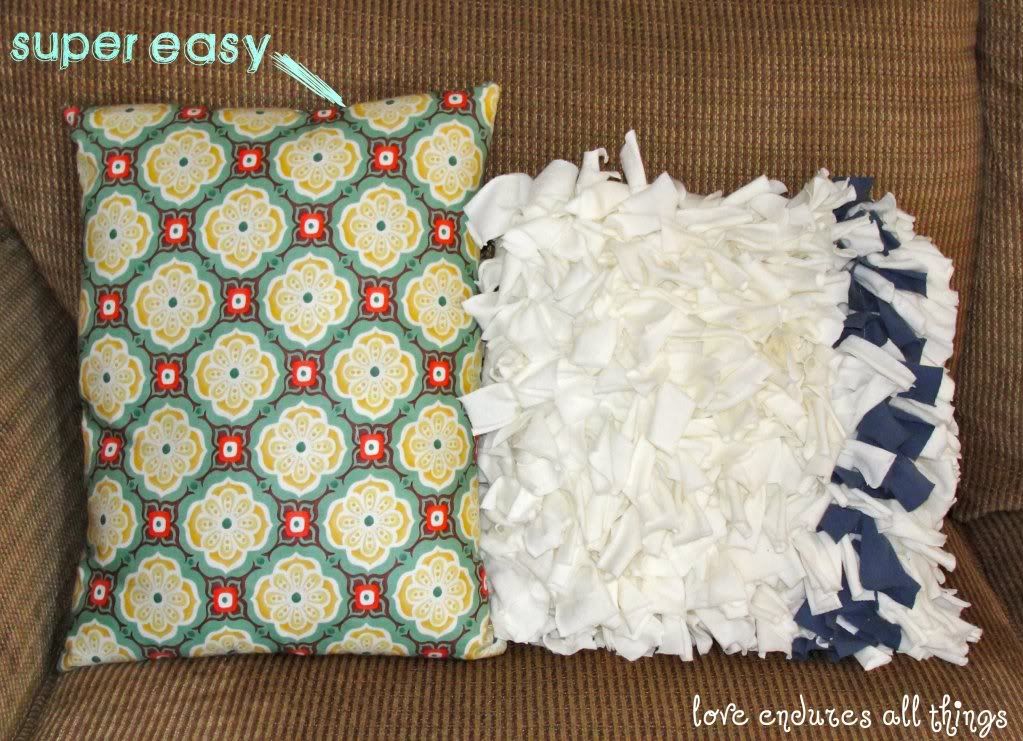
Now in reality, I'm pretty sure it didn't take me forever and a day (because I'm done) and I may have used slightly less than a bajillion pieces of fabric. The tutorial at V and Co is really good, so if you're interested in making the pillow I'd invite you to head over there because I was not about to keep up with step by step instructions as I was drowning in little rectangles of fabric.
Oh, and I also made a super easy pillow cover. Fold in half, sew two sides, leave one open to stick the pillow form in, close the hole and you're done. I won the fabric from Crafty Girls Workshop in a giveaway at A Law Student's Journey and I love it! I was a little nervous about buying fabric that I couldn't see or touch, but I couldn't be happier!
Here are some notes from the years I spent making the shag pillow:
  1. If you don't have a rotary cutter BEWARE!
  2. I didn't use quite as many strips per row as she did and it still looks quite shaggy.
  3. You can guesstimate on the measurements. After the first thousand few rows I stopped measuring the width, I just tried to cut kind of in a straight line. No one has noticed that my rectangles aren't completely uniform. 
  4. I used a pillow form instead of stuffing because I found two in my closet (score!!). Just alter the measurements from the tutorial to fit your pillow. I didn't leave any extra for seams because I wanted the pillow to be tight in the cover and knit fabrics are kinda stretchy. 
  5. I used leftover fabric from my tshirt quilt backing (which was really just a king size jersey sheet set) for the pillow, so I didn't even have to buy any fabric! I guess that's not really a tip, I just like the fact that this didn't cost anything.
Now go start a project without thinking it through!!! Just kidding, that's not the best idea. But it worked out for me this time : )
post signature

Wednesday, April 20, 2011

Pocket Dumpster

Do you have any idea how many pockets are on a pair of ABUs? If you do laundry for someone who wears them (and are therefore responsible for checking all of the pockets for pens, watches, knives, money, etc.) you would probably say way more than necessary. The actual answer is 14 in case you were wondering, although that's not including the occasional pocket within a pocket.

Anyway, Hubs has lots of pockets so he has lots of stuff to dump out of said pockets when he gets home. Alas, after being here for over a year we hadn't really established a good place for all of that stuff. That occassionally led to panic at 7:30 the next morning when some random doodad had walked off and was nowhere to be found. The desk was an ok dumping ground, but who really wants 14 pockets worth of stuff on their desk everyday?

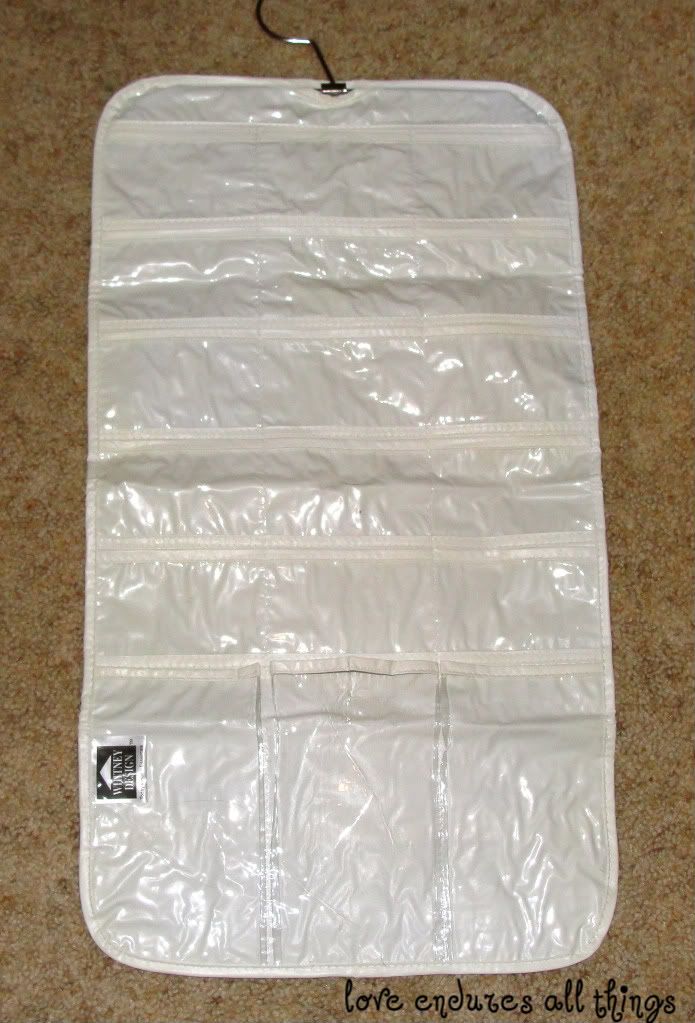
Enter crafty wife who doesn't like to panic and search for a reflective belt at 7:30am. I had an old hanging jewelry organizer that wasn't being used (and was recently moved out of the Goodwill pile to the infamous "almost Goodwill but I decided to save it for a project" pile).
It took me a minute to figure out what fabric to use. Obviously anything floral or polka dotty was completely out of the question. It would've been cool to use the same fabric as his ABUs, but none of his uniforms are worn out to the point that I would cut them up and those things are expensive! So I found a pair of pants in THE pile (you know the one I'm talking about).
They're a dark brownish black herringbone, sorry for the terrible picture. After some seam ripping I had all of my pieces ready to go. Except the trim on the jewelry organizer was plastic-y white and generally just looked terrible on the pants. So I cut some little pieces to sew over the edges.

If you happen to try something similar and you haven't used vinyl before just keep in mind that if you poke a hole in it, the hole will be there forever. I didn't like sewing the vinyl very much since minimal pinning = stuff shifting around a lot. I used the hem of one of the pant legs to make the loops for hanging.
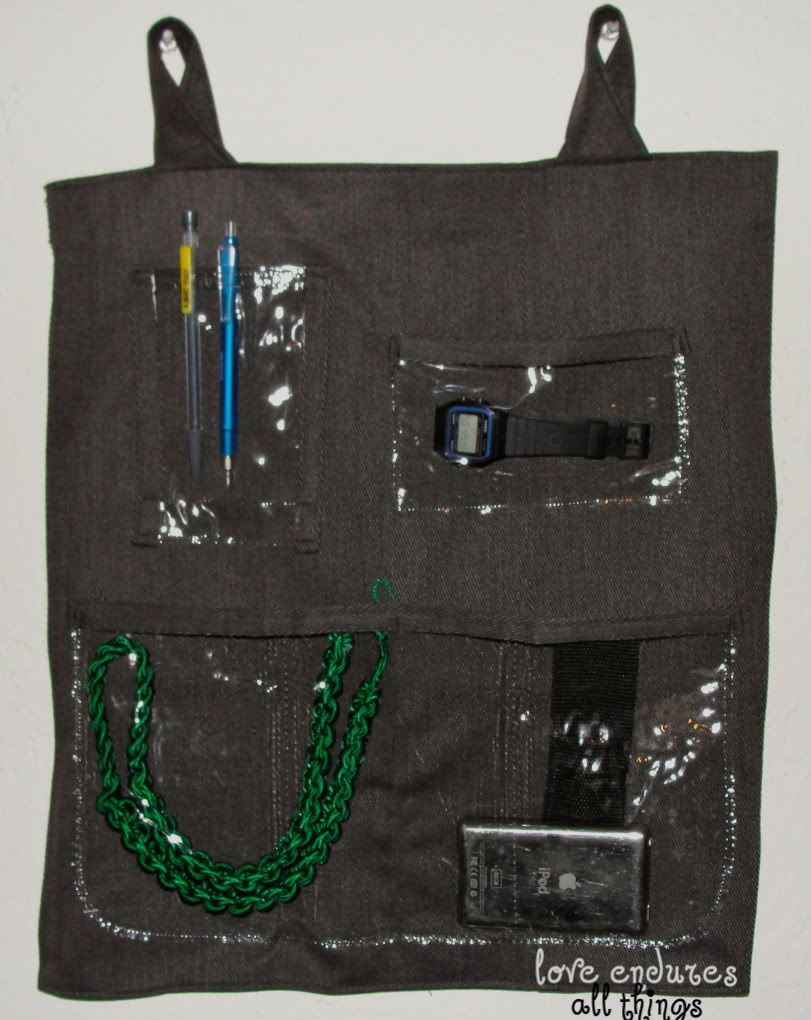
Certainly not the prettiest thing I've ever created, but I'm hoping it's usefulness will make it awesome despite it's homely appearance.

And I know I could've made fabric baskets faster, but that would defeat the whole get-things-off-the-desk purpose. And I could've used fabric instead of vinyl for the pockets, but Hubs wanted to be able to see what he was grabbing. I know this post probably won't help a ton of people out there, but if you've ever washed a uniform you can at least sympathize with the ridiculous number of pockets. Seriously...14?
post signature

Monday, April 18, 2011

Baby Name Taggie

I'm sure everyone has seen taggie blankets for babies (taggie? is that even the correct name? who knows). This is what I'm talking about in case the name is totally off base.
Thank you Google Images. I kind of remember seeing an idea that was like a taggie blanket, but just an initial. I liked that, but I thought I could do something a little different.
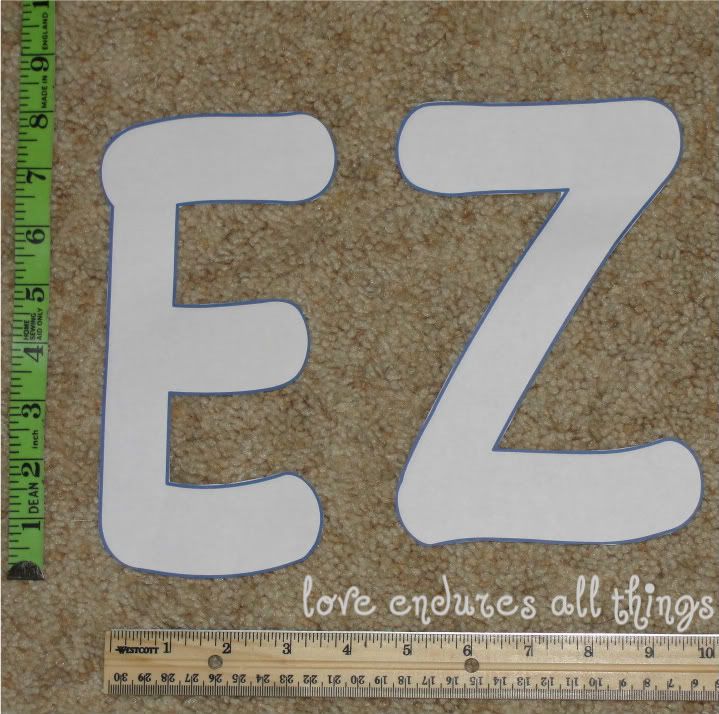
First I found a bubbly font and made it really big then cut out the letters after they had been printed. This should give you a little size reference.
I think I had two letters per sheet of 8 1/2" x 11" paper. Once you have your letters you can trace them onto the fabric. I added a little extra for seam allowances so the letters would end up about the same size as the printed letters. Since I used fleece it didn't matter as much about wrong/right sides, but when you're tracing and cutting just double check that the right sides will be out when everything is assembled.

Sorry I don't have more in-process pictures. Sometimes I get started and forget about blogging/picture taking until I'm done. (That and I didn't decide whether I would post this or not until this morning : ) Then cut little ribbons and pieces of fabric and felt to your little heart's content!
Pin everything together like this: letter piece 1 (right side up), ribbon with ends sticking out, letter piece 2 (right side down). Maybe that made sense? I briefly thought about bringing in one of my masterful paint drawings to help explain, but in every case this case I think it might make it even more confusing. Leave a hole for turning - preferably one that is larger than your finger!

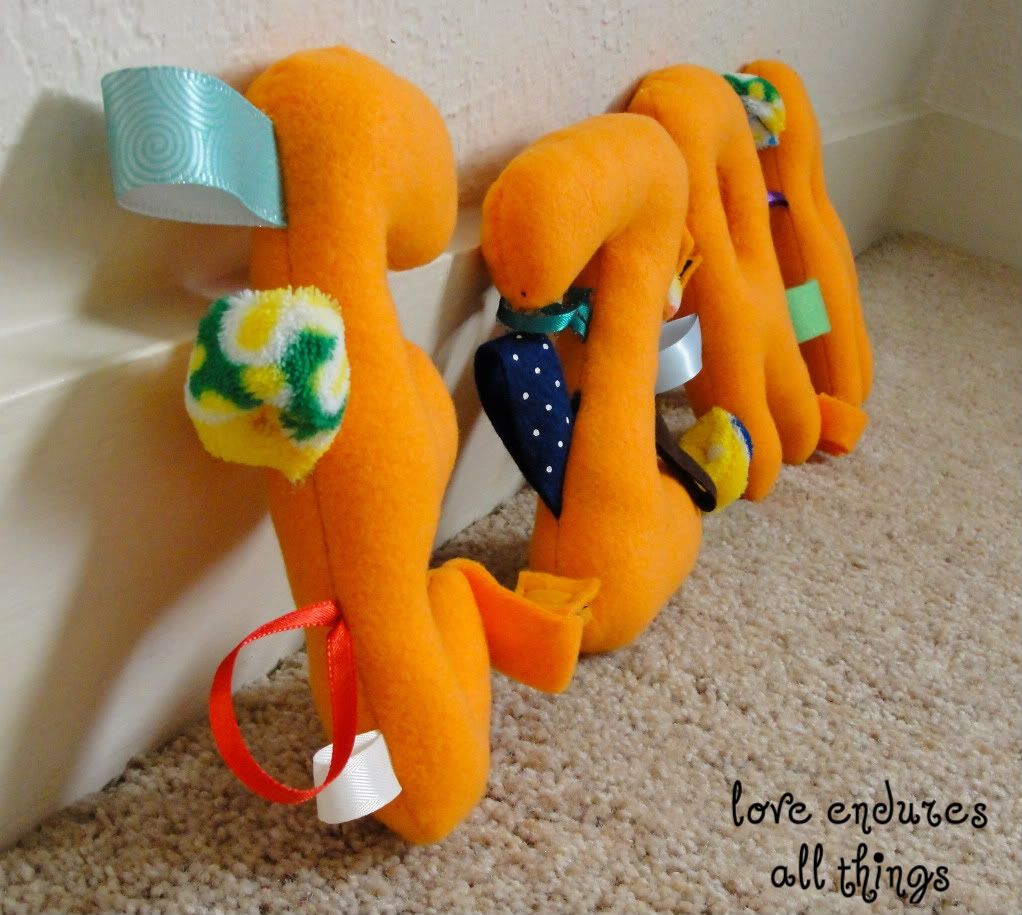
Stuff, sew up the hole, and you're done! I don't remember how long this took me, but I don't think it was a really long time (wow, so helpful of me to share that piece of information, I know). Here's a side view so you can see the stuffed puffiness of it.
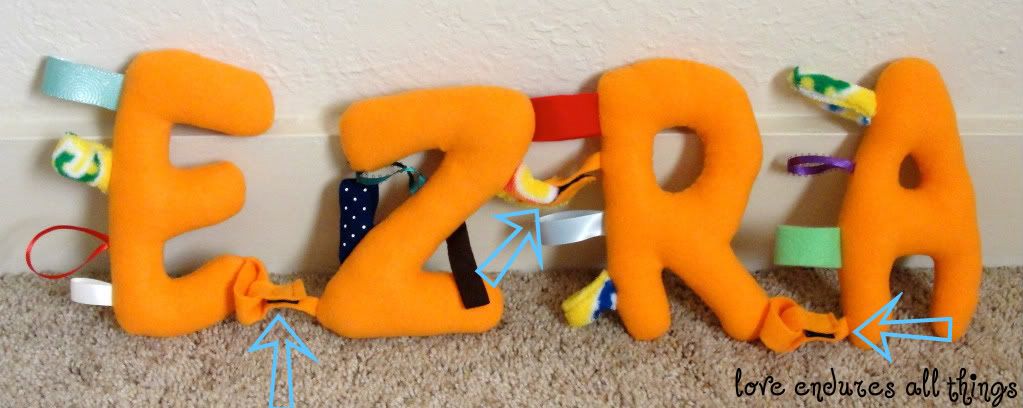
I almost forgot about one part! I made a loops with velcro on each letter so you can attach the letters or have them separate.
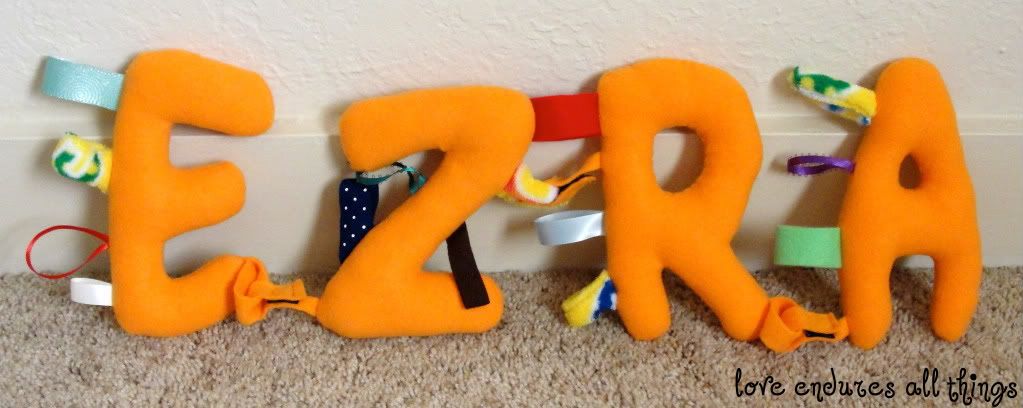
I thought it would be fun to be able to take them apart and put them back together. Plus, this way if he decides to change his name to Zera or Raze this gift still totally works. Hah!
post signature